Exploring Front-End Testing
date
Jul 14, 2021
slug
exploring-fe-testing
status
Published
tags
React
Testing
summary
type
Post
前端测试测试分类单元测试 Unit testing集成测试 Integration testing端到端测试 End-to-end (E2E) testing前端测试模式 Front-end Testing Pattern断言 Assertion侦察 SpiesStubingMocks快照测试 Snapshot Testing浏览器控制器 Browsers Controllers测试启动器 Test launchers测试辅助工具 Testing Utilities测试结构 Testing Structure浅尝 React 代码测试测试环境端到端测试
国内很多互联网公司都有自己的 QA 团队,前端开发大多不需要自己编写测试代码来测试程序的运行。但是随着前端走向深水区,每个前端团队基础建设的发展会催生出很多公共基础类库,相比常变的业务代码,这些基础类库的代码显得相对「稳重」,并且基础类库涉及到上层的业务应用的稳定性,为这些代码库编写良好的测试还是非常有必要的。
前端测试
Software testing is an investigation conducted to provide stakeholders with information about the quality of the software product or service under test. ——CEM KANER, “Exploratory Testing”(NOVEMBER 17, 2006)
"软件测试是为了向涉众提供有关被测软件产品或服务质量的信息而进行的调查。"
软件测试从工程角度看,是一种自动化的工具,帮助开发者尽早发现开发中的错误。
具体到前端开发,前端测试 front-end testing 用于验证用户在应用上的所见与所用的功能是否能按预期的那样工作。
测试分类
不同类型的测试覆盖了项目的不同方面。在理想情况下,我们应该使用不同类型的测试来覆盖不同类型的问题。
单元测试 Unit testing
职责:对软件中的最小可测试单元进行检查和验证。
单元测试是指对软件中的最小可测试单元进行检查和验证,也就是说一个测试单元往往是一个原子型函数。它关注程序中各个独立的组件并确保它们按预期工作。
- 单元测试的价值:它迫使开发者思考函数的可能产生的运行结果。通常,在经过测试以后,我们都会发现一些遗漏的边缘场景,这能帮助我们在代码中修复、补全函数。
- 单元测试的特征:小且简单
接下来举一个对函数进行单元测试的例子:
// 被测试的函数
const sayHello = (name) => {
  if (!name) {
    return "Hello human!";
  }

  return `Hello ${name}!`;
};
// 测试代码
describe("sayHello function", () => {
it("should return the proper greeting when a user doesn't pass a name", () => {
expect(sayHello()).toEqual("Hello human!")
})
it("should return the proper greeting with the name passed", () => {
expect(sayHello("Evgeny")).toEqual("Hello Evgeny!")
})
})expect 函数接收我们要验证的输入,toEqual 函数接收我们期望的结果。expect(sayHello()).toEqual("Hello human!")
expect(sayHello("Evgeny")).toEqual("Hello Evgeny!")集成测试 Integration testing
职责:测试独立单元间的集成与交互
单元测试负责检查最小可测试单元的行为,但 real world 中的程序很少由单独运行的单元组成。这就是为什么我们需要依赖集成测试,集成测试则负责确保各个单元你能够完美地一起工作。
接下来把单元测试中的
sayHello() 放入一个 React Component 中进集成测试:export const Greeting = () => {
const [showGreeting, setShowGreeting] = useState(false);
return (
<div>
<p data-testid="greeting">{showGreeting && sayHello()}</p>
<button data-testid="show-greeting-button" onClick={() => setShowGreeting(true)}>Show Greeting</button>
</div>
);
};// 测试代码
describe('<Greeting />', () => {
it('shows correct greeting', () => {
const screen = render(<Greeting />);
const greeting = screen.getByTestId('greeting');
const button = screen.getByTestId('show-greeting-button');
 expect(greeting.textContent).toBe('');
 fireEvent.click(button);
 expect(greeting.textContent).toBe('Hello human!');
});
});真正的集成测试开始于第七行:
expect(greeting.textContent).toBe('');
fireEvent.click(button);
expect(greeting.textContent).toBe('Hello human!'); 测试程序首先检查
p标签是否为空。然后通过模拟点击事件来点击按钮。最后,检查 p标签是否包含「Hello human!」这样就完成了一个简单的集成测试,验证
sayHello 函数能否和 Greeting 组件一起按预期工作。端到端测试 End-to-end (E2E) testing
职责:测试应用程序从开始到结束的整个流程是否按预期执行。
端到端测试只关心用户如何与程序交互,不关心程序背后的实现与具体的代码。从前端视角看,端到端测试会模拟用户的真实使用场景,告诉浏览器去执行什么、点击什么、输入什么,我们可以创建各种交互来测试终端用户会体验到的不同的特性和流程。
下面是一段端到端测试的用例,使用了 Cypress 作为测试工具库。假设前端在本地的 url 为 http://localhost:3000,以用户的身份对它进行测试:
describe('Greetings functionality', () => {
  it('should navigate to greetings page and confirm it works', () => {
		// 首先 cy.visit 会访问 URL http://localhost:3000
    cy.visit('http://localhost:3000')
		// 通过cy.get去拿到 nav button,并触发其点击事件,跳转至 Greeting 组件所在页面(程序逻辑)
    cy.get('#greeting-nav-button').click()
		// 在 greetings-input 中输入 Evgeny
    cy.get('#greetings-input').type('Evgeny', { delay: 400 })
    cy.get('#greetings-show-button').click()
    cy.get('#greeting-text').should('include.text', 'Hello Evgeny!')
  })
})上述端到端测试看起来与集成测试非常类似,但是两者间最主要的区别是端到端测试是在真正的浏览器中运行的。
前端测试模式 Front-end Testing Pattern
断言 Assertion
断言用于验证被测试的变量是否包含我们期望的值,例如:
// Chai expect (popular)
expect(foo).to.be.a('string')
expect(foo).to.equal('bar')

// Jasmine expect (popular)
expect(foo).toBeString()
expect(foo).toEqual('bar')

// Chai assert
assert.typeOf(foo, 'string')
assert.equal(foo, 'bar')
侦察 Spies
Test spy 是一个为其所有的调用记录入参、返回值、
this 值和异常抛出(如果存在)的函数。Spy 在集成测试中被用于确保流程的副作用是按照预期进行的。例如在下面的例子中,记录像
execute 这样的函数被调用了多少次。class Child {
...
execute() { ... }
...
}
class Father {
constructor() {
this.child = new Child()
}
...
execute() {
...
this.child.execute()
...
this.child.execute()
...
}
...
}
it('should call child execute twice when father executes', () => {
const father = new Father()
// 创建一个 Sinon Spy 来侦察 object.method
const childSpy = sinon.spy(father.child, 'execute')
// call the method with the argument "3"
// 使用入参 3 来调用这个方法
father.execute()
// 确保 child.execute 被调用了 2 次
assert(childSpy.calledTwice)
})Stubing
Stub 可以理解为是具有预先编程行为的 Spy,它用用户提供的函数替换现有模块的选定方法。
下面的例子中,测试代码检查了
user.isValid() 是否能够在测试期间始终返回 true :// Sinon
sinon.stub(user, 'isValid').returns(true)
// Jasmine
spyOn(user, 'isValid').andReturns(true)Mocks
Mock 用于伪装某些模块或行为以测试进程中的不同部分。
例如,Sinon 这个工具库能够 mock 一个 server 来确保在测试某个流程时能够得到离线、快速和预期的响应:
it('returns an object containing all users', done => {

  // Mock 了一个 Server 来代替本地的网络调用
  const server = sinon.createFakeServer()
  server.respondWith('GET', '/users', [
    200,
    { 'Content-Type': 'application/json' },
    '[{ "id": 1, "name": "Gwen" },  { "id": 2, "name": "John" }]'
  ])

  // 向之前 mock 的网络发出请求
  Users.all()
    .done(collection => {
      const expectedCollection = [
        { id: 1, name: 'Gwen' },
        { id: 2, name: 'John' }
      ]
      expect(collection.toJSON()).to.eql(expectedCollection)
      done()
    })

	// 对请求进行响应
  server.respond()

  // 移除 fake server
  server.restore()
})
快照测试 Snapshot Testing
一个典型的 Snapshot Testing Case 能够渲染一个 UI 组件获取快照,然后将其与另一个快照文件进行比较。下面的例子展示了对
Link 组件进行的快照测试:it('renders correctly', () => {
// 创建一个 Link 组件的实例
const linkInstance = (
<Link page="http://www.facebook.com">Facebook</Link>
)
// 创建一个组件的数据快照
const tree = renderer.create(linkInstance).toJSON()
// 与上一个快照进行对比
expect(tree).toMatchSnapshot()
})Snap Testing 除了用于比较 UI 组件数据快照外,还能比较其他数据类型,例如 redux store 或者程序中不同单元的内部结构。
浏览器控制器 Browsers Controllers
开发者通常会使用浏览器控制器来模拟用户行为,例如点击、拖拽、输入和导航。
常见的浏览器控制器有 puppeteer、Cypress 等。
测试启动器 Test launchers
测试启动器用于在不同环境中(Browser/Node.js)执行你的测试代码。通常它会根据提供的配置(例如运行什么浏览器、使用什么 Babel Plugin等)启动你的测试文件,并提供 Assertion、Mock 等能力。
业界流行的测试启动器有:
Karma, Jasmine, Jest, TestCafe, Cypress……
测试辅助工具 Testing Utilities
Test Launchers 提供了 Test Runner、Assertion 等能力,他们不关系具体的 UI 渲染环境。具体到不同 UI 类库提供的渲染环境,我们还需要响应的测试辅助工具,例如:Enzyme、React Testing Library,它们提供了 React 组件的渲染环境,DOM 的操作与查询能力等。
测试结构 Testing Structure
测试结构指你的测试代码的组织形式。测试代码的组织形式通常都遵循 BDD(behavior-drive developement) 结构,例如:
describe('calculator', function() {
  // describes a module with nested "describe" functions
  describe('add', function() {
		// 声明具体的期望的行为
    it('should add 2 numbers', function() {
       //Use assertion functions to test the expected behavior
       ...
    })
  })
})
浅尝 React 代码测试
现在有许多种测试 React 代码的方法,大体上可以分为两类:
- 测试一个组件树:在一个简化的测试环境中渲染组件树并对他们的输出做断言检查(单元测试+集成测试)
- 运行完整的应用:在一个真实的浏览器环境中运行整个应用(即端到端测试)
React 官方推荐使用 Jest + React Testing Library 来进行测试。
下面我们试着在 Create React App 生成的 React App 中尝试使用 Jest + React Testing Library 进行测试。
可以看到,脚手架自动生成的代码仓库中,已经继承了 Jest + React Testing Library ,并且包含了 App.js 和它的测试代码 App.test.js。
// App.js
import logo from './logo.svg';
import './App.css';

function App() {
  return (
    <div className="App">
      <header className="App-header">
        <img src={logo} className="App-logo" alt="logo" />
        <p>
          Edit <code>src/App.js</code> and save to reload.
        </p>
        <a
          className="App-link"
          href="https://reactjs.org"
          target="_blank"
          rel="noopener noreferrer"
        >
          Learn React
        </a>
      </header>
    </div>
  );
}

export default App;
// App.test.js
import { render, screen } from '@testing-library/react';
import App from './App';
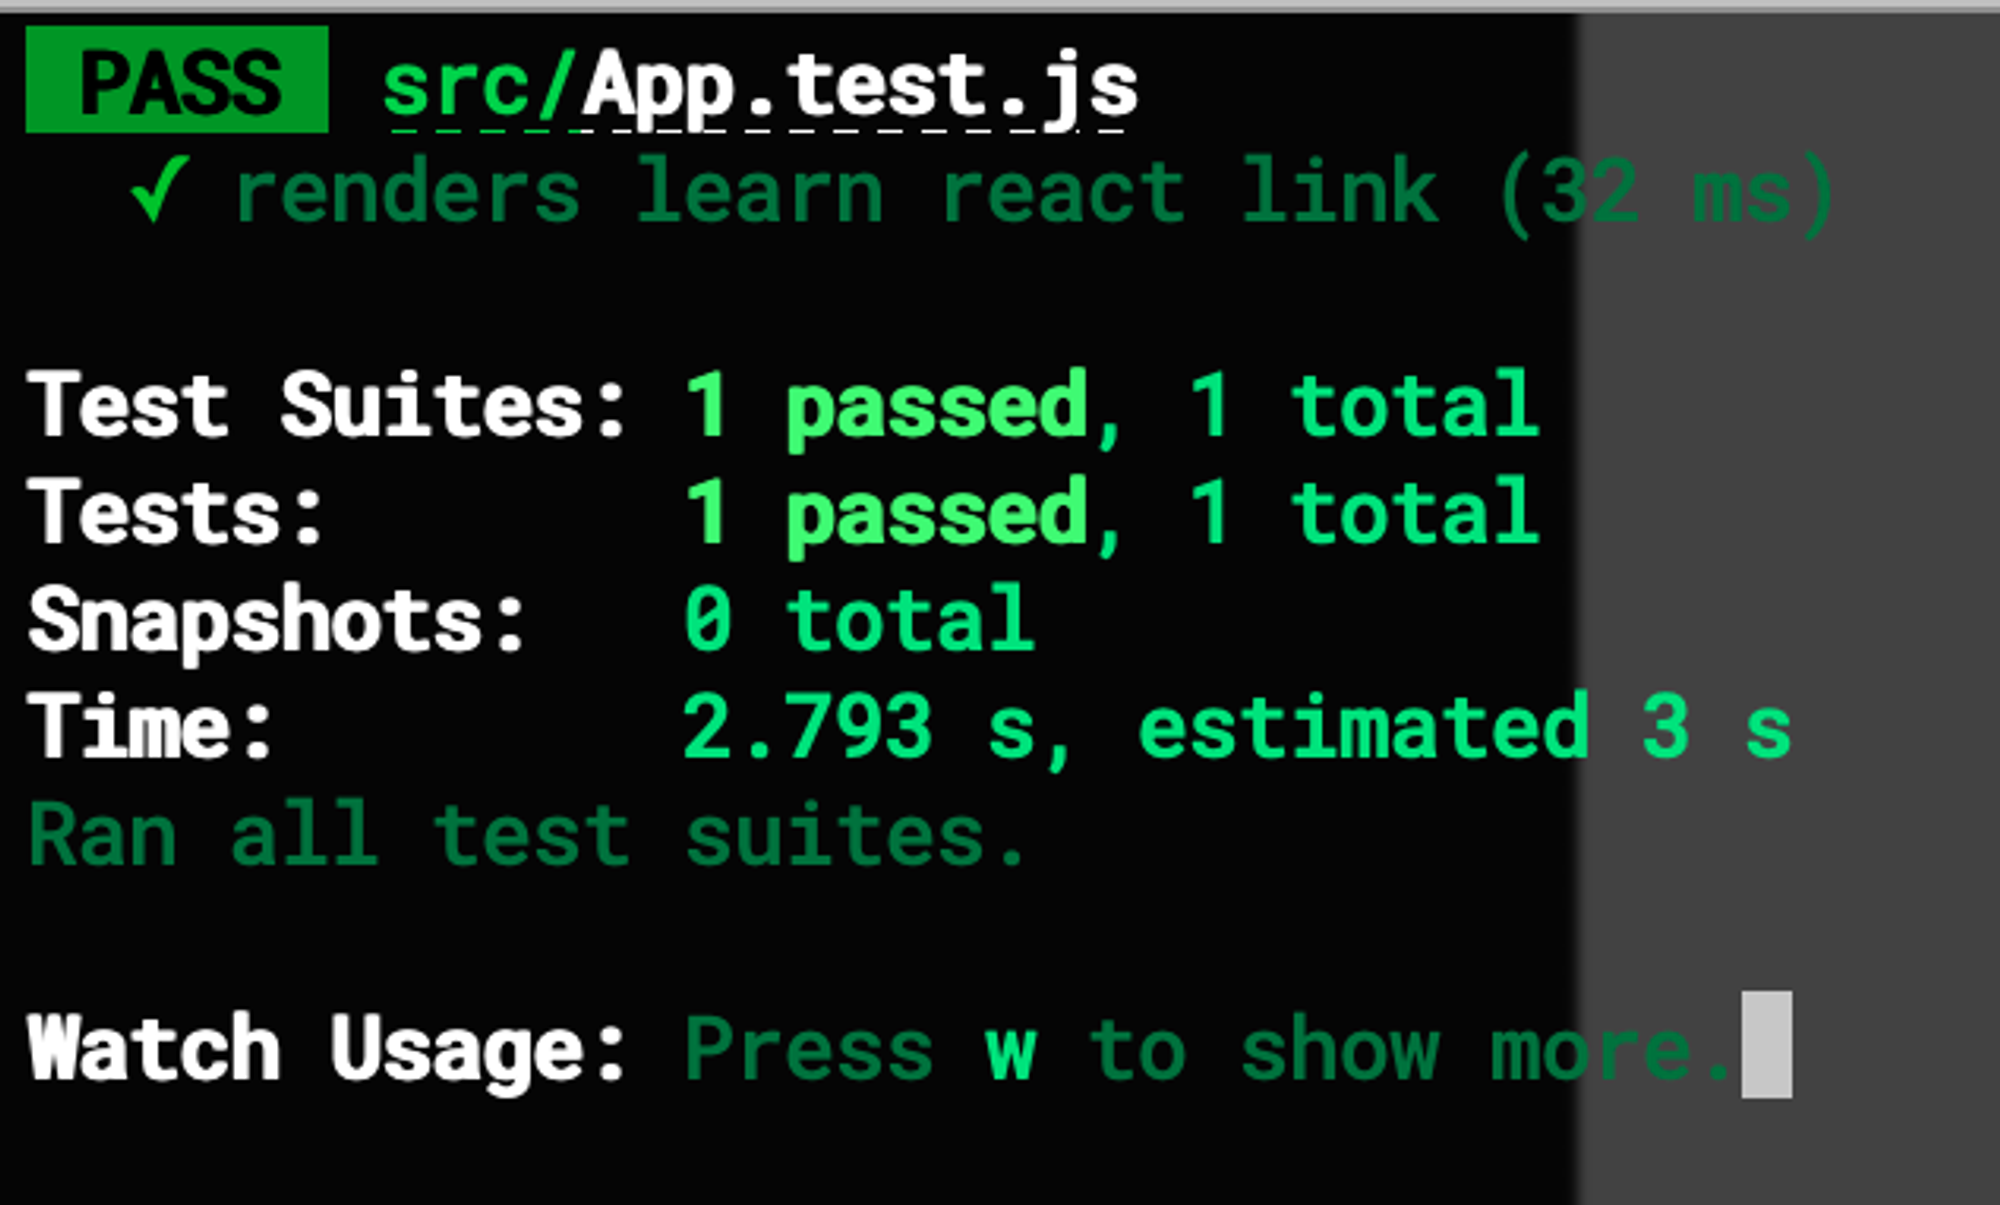
test('renders learn react link', () => {
render(<App />);
const linkElement = screen.getByText(/learn react/i);
expect(linkElement).toBeInTheDocument();
});React Testing Library 中的
render 函数接受任何的 JSX 并渲染它们。在渲染完成之后,我们就可以访问测试中的组件。上面的测试代码用来测试 learn react 链接是否包含在 App 组件中,我们试着运行一下这个测试。
测试环境
上面的测试并不是在真实的浏览器中运行的,而是在一个 jsdom 模拟的虚拟浏览器中,这是一个在 Node.js 内运行的轻量级浏览器实现。
端到端测试
端到端测试希望测试真实浏览器如何渲染整个应用、从真实的 API 中获取数据、使用 session 和 cookies 以及在不同的链接间导航等功能。这时 Jest 与 React Testing Library 是远远不够,我们还需要能够提供真实浏览器环境的库,例如 Cypress 和 puppeteer。
(关于 React 更详细的测试流程不在这里继续讲述,文章的本模块只是简单介绍真实 React 应用的测试环境,可以访问相关测试库的官网查阅更为详细的测试教程。)
参考资料:


